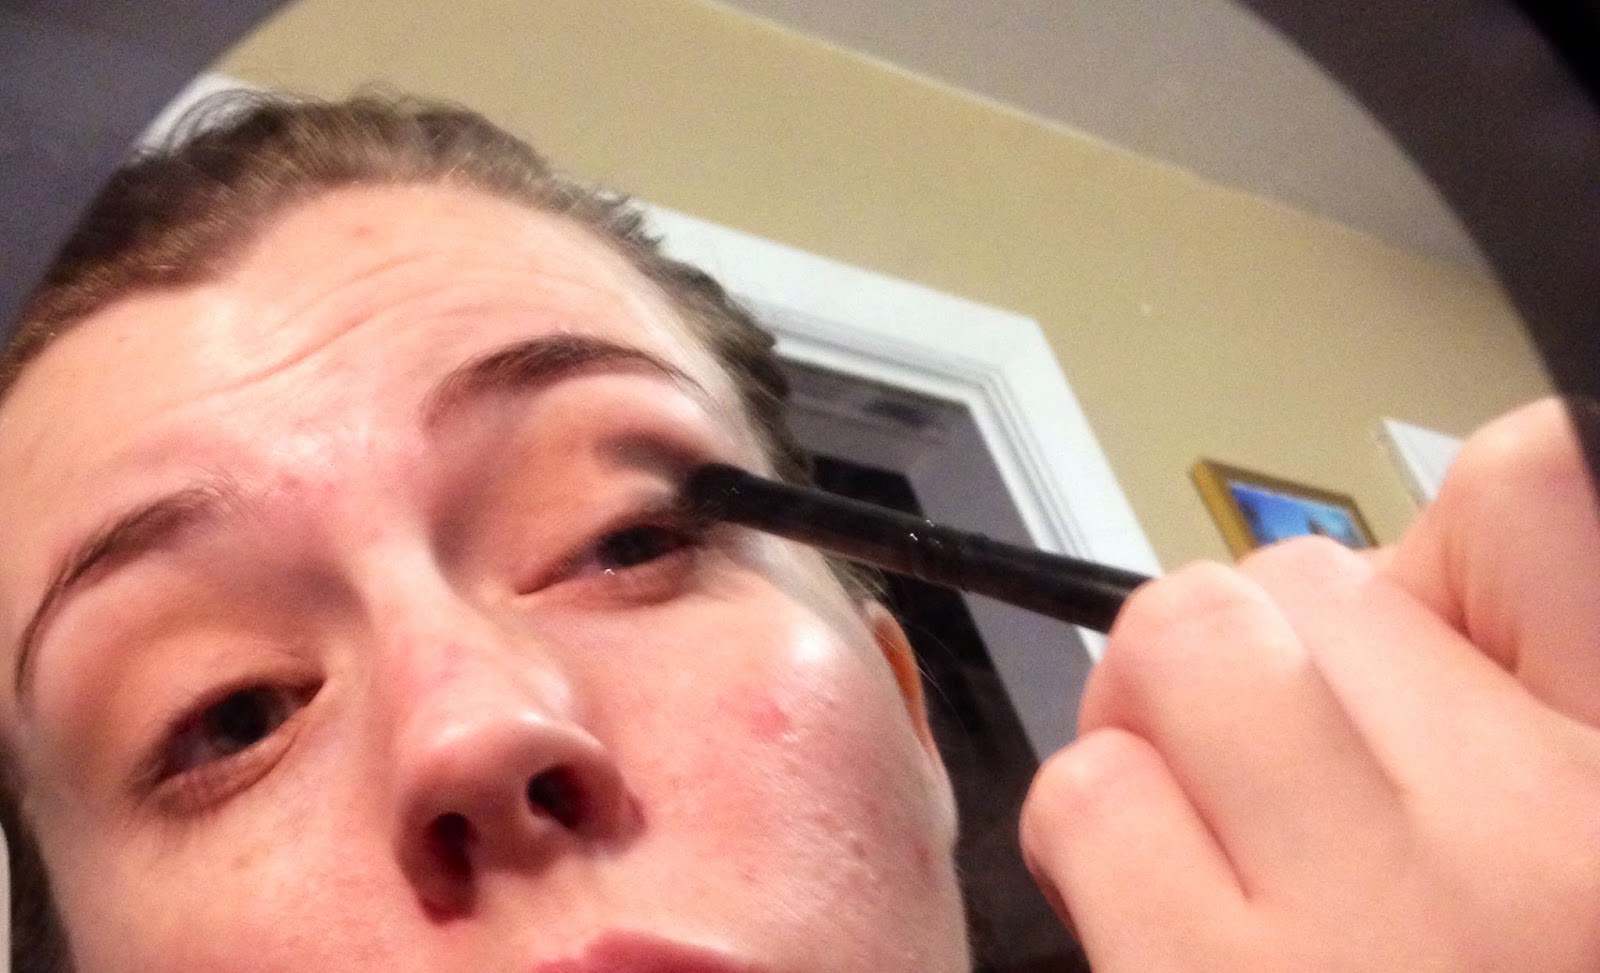
Hello! After
this post a friend of mine asked me to do a tutorial on a traditional smokey eye look. Then, just yesterday, another friend asked me on Facebook for the same thing! So, here we are. Let's get started!
First of all, I took individual pics of my personal brushes and the products I used and then I got a new phone which deleted all of my high class iPhone pics of brushes and products. So, instead I've found pictures of the exact ones I used online. However, I used products that you can easily find dupes of as well as use your own versions.
So to start off, when working with dark colors, and especially when doing a smokey look like this, I definitely suggest doing your eye makeup before anything else. That way, if you experience fallout with your products or smudge something on your cheek accidentally, you can easily fix it without messing anything else up.
So, start out with a bare face like so. And don't be scared.
.jpeg) |
| The bare face! |
Next pull up your hair and prime your eyes. First, I prime with a liquid/tube primer. I typically reach for the ELF cosmetics Mineral Eyeshadow Primer (because it's affordable and works! $3!) But Nars and Urban Decay both make great options.
 |
| Elf Mineral Eyeshadow Primer |
After patting that onto my lid, I go in with an eyeshadow base. If you don't have oily lids you can skip the first step and start here. The purpose of a base is that your shadow will stick better to your lid without creasing, you'll see brighter more true to color pigmentation and you'll also cancel out any discoloration or veins on your eyelids. My very favorite is Painterly Paint Pot by Mac, but if you're looking for shimmer, Maybelline makes a great version as well for a fraction of the cost. Unfortunately, Maybelline doesn't make a matte color and that's what I love about Painterly. I apply this with my finger.
Here is the Paint Pot I used:
 |
| Painterly Paint Pot by MAC |
And here is the Maybelline version. My favorite of the Maybelline version is in the color Bad to the Bronze or Barely Branded. Here are pictures of both of those. Remember, the Maybelline version is not matte, and has quite a bit of sparkle. I've also noticed it's harder to blend out, but it is a fraction of the cost.
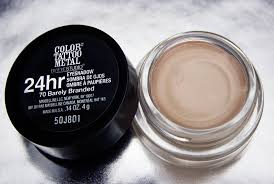 |
| Barely Branded |
 |
| Bad to the Bronze |
Next, you're going to want to lay down a transition shade. This is so that when you're finished with the darkest part of the eye (in this case a color as unforgiving as black) you have a lighter color that pulls your look together before it reaches the brow bone. You don't want black all the way from your lash line to your brow, but you also don't want a harsh change from black to highlight. The colors that I use to transition are Foxy and Naked2 in the Urban Decay Naked Basics Palette. (You could use only this palette and create a gorgeous smokey eye, but I decided to go all out.) I use a Sedona Lace EB 13 Brush for this. It's a fluffy brush but more dense than some. It lays down a great transition shade. It is a synthetic brush, so it transfers color well without absorbing the pigment into the bristles.
 |
| Use windshield wiper motions with your transition shade, but then make little circles in the outer "V" of your eye to really buff out your transition color. |
 |
| This is the synthetic EB 13 brush by Sedona Lace. |
 |
| I used the colors Foxy and Naked 2 to lay down my transition shade. |
You'll take a blending brush and use windshield wiper motions to go across the crease and just up onto the brow bone. On the outer "v" of your eye, go ahead and make little circles with your brush to buff out the color, but mostly focus on a back and forth motion.
After that, you're going to take a denser, smaller brush and go in with your darker color. In this case we are using black. I like to start about 3/4 of the way toward my outer "v", create a bit of a line from there to the end of my lash line, and then go up and under my brow bone. Don't worry too much about carving out the crease at this point. Just get your product down. For this black color, I used "Crave" from the Naked Basics Palette. The brush is a dense brush by Elf Cosmetics called the contour brush.
 |
| Elf Contour Eye Brush |
|
| The color "Crave" is used on the eye look above. |
Now, get yourself a fluffy (fluffier than the brush you used for your transition shade) blending brush and...BLEND, BLEND, BLEND. Be careful not to take the color too far out of your eyelid of you'll end up with the dreaded raccoon eyes, and don't take it too far up past your transition color. Use small circles with your brush and just blend. When you think you've blended enough, take a step back, look in the mirror and blend some more. And then blend some more. This is why we don't have the rest of our makeup on yet. You might see that your shadow will go too far out onto your temples (try to avoid this but I'll tell you how to fix it later) or you might see that it's falling down on your cheeks.
I use this blending brush by Mirabella. It's fluffy and sturdy and I just love it.
After you've blended it out, you can see that it's much less harsh and easier to take in.
Next, I like to go in with a bit of grey under the lash line and then carve that same grey right into my crease. I do this with the Real Techniques Details brush. I use that same brush to smudge and smoke out the lower lash line, and then go in with that fluffy blending brush from earlier (Mirabella) to blend out the crease. Really push that fluffy brush into your crease to give some definition to the "all black" thing going on. Yes, I know it doesn't look presentable yet but that's the thing about a smokey eye. It's not going to look good until you're completely finished.


Next, I work on the lid. I went for a vanilla/cream colored pigment by NYX, though you can stick with a white color and have a similar and probably even more traditional look. I take this on any old eyeshadow brush and I always spray it with Mac Fix+ when using a pigment. It gives a foiled look and creates lots of "stay" for your colors. It's a product I definitely recommend but you can really use any makeup spray for this. Pat (don't spread or smear or blend), I repeat PAT the color onto the lid until you have that half-moon shaped look on your lid. Take a tiny bit down onto the outer lower lash line and inner corner.
 |
| Mac Fix+. You can use this by spraying it directly on your brush before dipping it into a pigment or shadow, and it can also be used by spraying directly on your face to add a dewy finish. I wouldn't recommend spraying directly over your makeup unless you have dry skin. |
 |
| Remember to pat the pigment on. Spraying it with Fix+ will increase the pigmentation dramatically and also help it to stay put on your lid. |
Now you can take the same color you use on the lid or any highlight color to highlight your brows. I use this on a natural brush and blend it in just slightly with the transition and smoked out color. This is a Sedona Lace brush as well but instead of synthetic, it's a natural hair brush. Meaning, it absorbs more of the pigment and doesn't lay down as much color. That's why I love it for highlighting-it's not harsh and blends well.


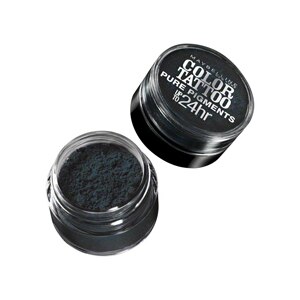
Next, I take a pencil brush (Any pencil brush is fine) and go in with a harsh black pigment. However, you can just go back in with the black you originally used if you'd like. No need to buy two. But for me, I like having a harsher black in small amounts over the black we already smoked out. You can use the original black shadow with Fix+ to create this effect as well, though. With that pencil brush, I spray it with Fix+ and go in with the black pigment (I used Color Tattoo by Maybelline) just in the outer "v" of my eye. Then blend! Here I show you one eye with the extra black pigment and one without. In my opinion it makes a favorable difference.
 |
| You can see that the eye on the left has more definition from applying just a little bit more of a harsh color to the outer "V" of the eye. However, either look is fine and it's totally up to personal preference. |
The above picture also shows liner. I line my eyes with a gel liner. The reason I use gel instead of liquid here is because I want to smoke it out. Apply your gel liner one eye at a time so that you have time to go in (with a detail brush like the one by Real Techniques) and smoke/smudge it all out. I opt not to line my waterline here since the look is already closing in on my eye, but that's a personal preference. I felt that lining it with a white or nude color would break up the look too much, and lining with black on the waterline would close my eye up too much.
Curl your lashes and then go for mascara. I always mix my mascaras. First I do a coat of They're Real by Benefit, and then I go in with my trusty Telescopic Mascara in Black.
 |
| This picture is without liner or mascara on the bottom lashes. Don't neglect your bottom lash line or your smokey eye will look unfinished and awkward. |
Then finish the rest of your makeup and you're good to go! Don't forget to put mascara on your bottom lashes. With a smokey eye, you don't want to neglect the lower lash line or you'll look unfinished.
If you do go too far outside of your temples, this is your chance to take a makeup wipe and slide it across for a sharp line or even use a concealer brush and concealer to sharpen that up. You can also take this chance to clean up any fallout on your cheeks before putting on the rest of your makeup.
My suggestion, with an eye look as dramatic as this one, is that you go easy on the cheeks and lips and just let the eyes be the focal point. This will keep you from looking clownish. I just used a light hand with a pink blush and a quick swipe of lipstick using Saint Germaine by MAC. I opted not to use a gloss here because I feel like the muted matte look on lip looks well against something as dramatic as a black smokey eye. This look would also work well with a light hand in a peach blush and a nude lip.

And that, is that! Much easier than you'd think. And it took me 15 minutes (including the rest of my makeup) and that's WITH taking pictures. The awesome thing is that this is easy to recreate with color like green or purple, as a neutral with browns and golds, and to tone down for an every day look.
Obviously this look is very dramatic, but like I said it's so easy to create this similar look and tone it down for daytime, or even vamp it up with a darker lip and harsher lower lash line for a night out! Let me know if you're interested in seeing colored versions!

Let me know if you have any other questions about brushes or if anyone is interested in ways to create this look on a budget. There are some great drugstore options available, even as far as brushes go, so let me know!!
Have fun and tag me in your versions of this look on Instagram! #thesearchingproject and feel free to follow me @alyssalynnhall5. I love it when I see I've been tagged in a version of a look I've posted, whether it's makeup or fashion. I think it's so awesome the way that everyone can put their own twist on something as traditional as a smokey eye.
<3


.jpg)
.jpg)
.jpg)
.jpg)

.jpg)